 how-to
How to Handle Storm Damage Restoration in Florida: 5 Steps
Last Updated: November 1, 2026
Quick Summary
Storm damage restoration in Florida follows five steps: secure the property and document the insurance claim, complete a structural damage assessment, prevent further damage during cleanup, build a repair timeline with a contractor checklist, and decide between DIY cleanup and professional restoration. Start by opening your claim and photographing everything before debris leaves the house.
- Open the claim, get the claim number and adjuster contact in writing, then mitigate further damage.
- Photograph each room wide first, then close-ups, and label files by room and date.
- Storm surge and floodwater are Category 3 black water, so remove soaked porous materials rather than drying them.
- Verify framing and subfloor with a moisture meter before rebuilding over damp materials.
- Choose professional restoration when water reached the structure, the roof is breached, or mold is visible.
Table of Contents
- Step 1: Secure the Property and Start Storm Damage Insurance Claim Documentation
- Step 2: Complete a Structural Damage Assessment After a Storm
- Step 3: Prevent Further Damage During Post-Storm Cleanup
- Step 4: Build a Storm Damage Repair Timeline and Contractor Checklist
- Step 5: Decide Between DIY Cleanup and Professional Storm Damage Restoration
- Move From Scope to Rebuild With an Engineering-Led Team
- Frequently Asked Questions
Step 1: Secure the Property and Start Storm Damage Insurance Claim Documentation
Storm damage restoration in Florida starts before you pick up a hammer. The first hour is about safety, evidence, and your insurance claim. Get this order right and the rest of the process moves faster.
Start with a safety check from outside. As the National Weather Service historical data compiled by University of Florida IFAS notes, storm surge causes more deaths than wind, so treat floodwater as a hazard, not a puddle.
Homeowners often clean up before they document. Do it in reverse.
The Florida claim sequence, in order
A homeowners policy generally moves through the same milestones. Knowing the sequence keeps you from missing a deadline or losing leverage.
- First notice of loss (FNOL). Call your agent or the insurer's claims line and open the claim. Get the claim number and the name and direct line of the assigned adjuster in writing, email is better than a phone call because it creates a record.
- Emergency mitigation. Your policy typically obligates you to prevent further damage. Tarps, water extraction, and board-up are usually reimbursable as part of the claim, but save every receipt and photograph the work.
- Adjuster inspection. The adjuster will schedule a walk-through. Be present, walk the same path you documented, and hand over your photo file at the inspection rather than after.
- Proof of loss. Policies commonly require a sworn proof of loss within a set window after the insurer's request. Check your policy for the exact deadline. Treat the deadline as hard. Missing it is one of the most common reasons a claim stalls.
- Scope and estimate review. The insurer's estimate is a starting position, not a final number. Compare line items against your contractor's scope and ask for a re-inspection if items are missing.
- Payment and supplement. Initial payment is often for the actual cash value; recoverable depreciation is released after the work is completed and invoiced. Plan cash flow around that two-stage payout.
How to organize evidence so the claim moves
A clean file is the difference between a claim that closes in weeks and one that drags for months. Build it the same day.
- Photograph every room, wide shot first, then close-ups
- Video a slow walk-through with the date spoken aloud
- List damaged items with brand, age, and estimated value
Track communications like a project
Every call, email, and site visit should land in one log with a date, a name, and a next action. When a claim stalls, the log is what lets you, or a public adjuster, if you hire one, show exactly where the process broke down.
Keep every photo and receipt. Your claims team will ask for them, and a clean file speeds up the payout.
Step 2: Complete a Structural Damage Assessment After a Storm
A structural damage assessment after a storm is a room-by-room check for what the wind and water actually did.
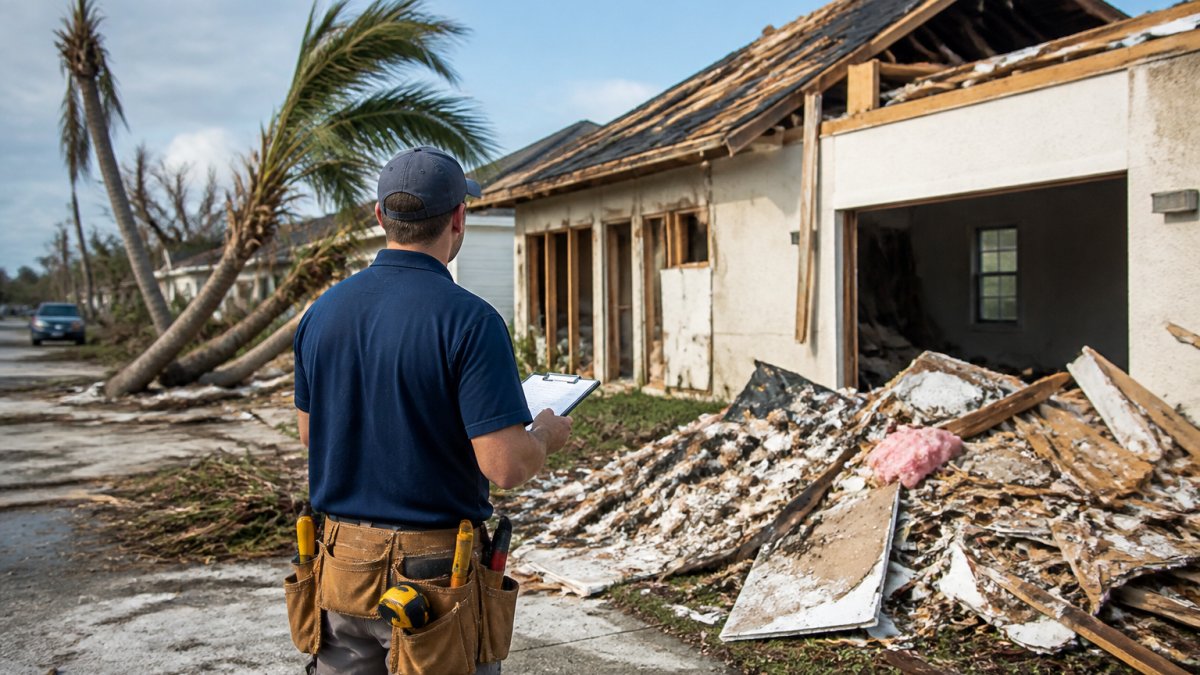
Walk the exterior first. Check the roof for missing shingles, the windows for cracked seals, and the siding for impact marks.
Watch out: attic damage often hides above your line of sight. Look for daylight through the roof deck and damp insulation.
For an independent read on what you are seeing, private building inspectors explain the value of a second set of eyes before you accept any repair scope.
Step 3: Prevent Further Damage During Post-Storm Cleanup
Post-storm cleanup is about stopping the damage from growing. Water left sitting turns into mold, and open roofs let the next rain in. The clock matters more than most homeowners realize, since wet building materials can begin to grow mold quickly, so fast drying helps protect the structure.
Know what kind of water you are dealing with
Not all storm water is the same, and the category changes what you can save.
- Category 1, clean water. Rain intrusion through a roof or a broken window. Generally salvageable if dried quickly.
- Category 2, gray water. Washing-machine or appliance discharge, or clean water that has sat long enough to grow bacteria. Porous materials may need removal.
- Category 3, black water. Floodwater, storm surge, and sewage backups. Heavily contaminated. Porous materials, carpet, padding, drywall, insulation, that soaked up Category 3 water are generally not salvageable and should be removed rather than dried.
Storm surge and rising floodwater are almost always Category 3. Treat them that way even when the water looks clear.
The drying sequence that actually works
- Stop the source. Tarp the roof and board broken windows so the next rain does not undo your work.
- Remove standing water. Pump or wet-vac it out. The faster water is gone, the smaller the drying job.
- Strip saturated porous materials. Remove soaked carpet, padding, and drywall below the waterline. Drywall wicks water upward, so cut above the visible stain line.
- Dry the structure, not just the air. Run dehumidifiers and air movers so moisture leaves the framing and subfloor. Open interior doors and cabinets to keep air moving.
- Verify before you rebuild. A moisture meter reading on framing and subfloor tells you whether the structure is actually dry. Rebuilding over damp framing traps moisture and invites mold behind the new wall.
Photograph before anything leaves the house
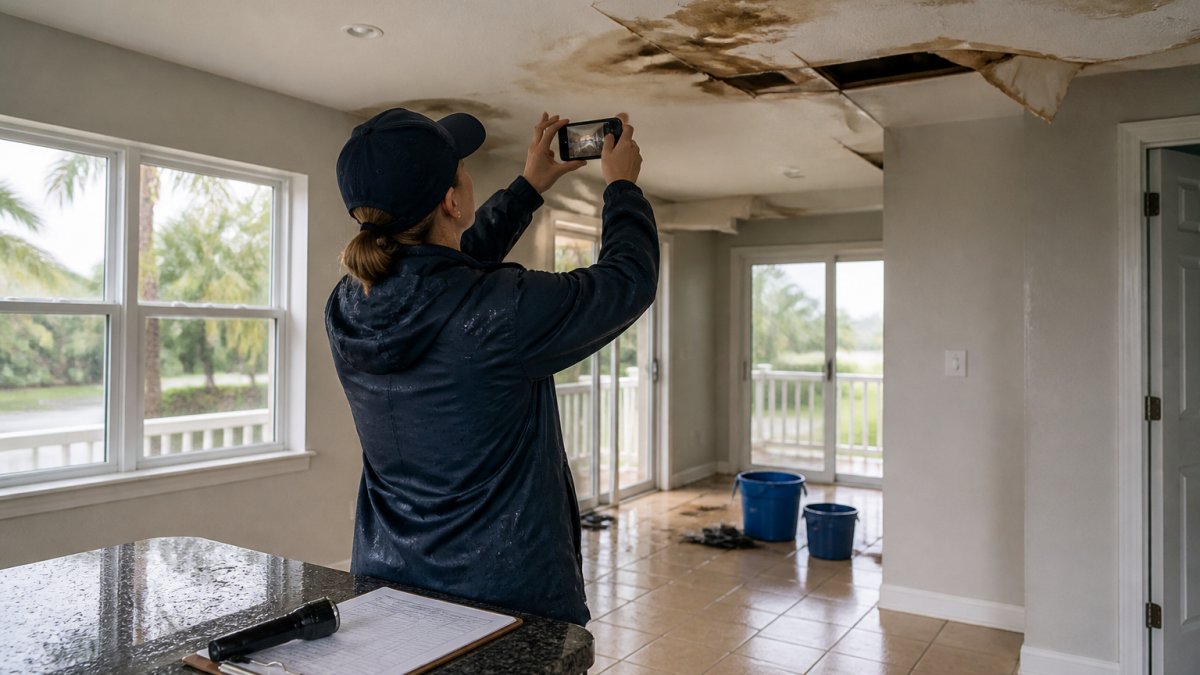
Document every item before it goes to the curb. Insurers reimburse based on evidence, and once debris is hauled away the proof is gone. Photograph the item in place, then photograph it staged for removal.
Ready to move from scope to build? →
What usually cannot be saved
Anything porous that soaked up floodwater usually cannot be saved: carpet and padding, upholstered furniture, mattresses, drywall, insulation, and most paper products. Hard, non-porous surfaces, solid wood framing, tile, concrete, metal, can often be cleaned and dried, but only after the contamination is addressed.
Step 4: Build a Storm Damage Repair Timeline and Contractor Checklist
A realistic storm damage repair timeline runs from emergency tarping in week one to final reconstruction over the following months. Permitting is the step most homeowners underestimate.
Flood-damaged properties can face different permitting requirements than routine construction. Build that into your plan.
Before you sign anything, run this storm damage contractor checklist:
- Valid state license number, verified
- Written scope of work with line-item pricing
- Proof of insurance and workers' comp
For realistic numbers before you commit, see our guide to structural repair costs for Florida homes. And if your contractor's scope needs engineering sign-off, read up on hiring engineering firms for home repairs first.
What to ask before you sign a storm damage contractor checklist
Ask three questions. Who pulls the permit? Who handles change orders? What happens if the scope grows after demolition? A contractor who answers all three clearly is worth keeping.
Step 5: Decide Between DIY Cleanup and Professional Storm Damage Restoration
DIY cleanup makes sense for small, dry, cosmetic damage. Professional storm damage restoration is the right call when water reached the structure, the roof is compromised, or mold has started.
Draw the line here:
| Situation | DIY | Professional |
|---|---|---|
| Wet carpet, no structural damage | Yes | Optional |
| Ceiling or roof breach | No | Yes |
| Floodwater intrusion | No | Yes |
| Visible mold growth | No | Yes |
| Sagging floors or walls | No | Yes |
If you are leaning toward professional help on a coastal property, our step-by-step structural repair guide for coastal homes walks through what the work involves.
Move From Scope to Rebuild With an Engineering-Led Team
The hardest part is not the cleanup. It is coordinating an engineer, a contractor, and a permit office while your house sits open.
That coordination gap is where timelines slip. Take Off Construction Management closes it with two engineers on staff, so assessments, stamped drawings, and field execution sit under one point of accountability.
For coastal best practices before you rebuild, read our coastal structural repair guide.
Frequently Asked Questions
What should I do first after storm damage to my home?
Check that everyone is safe and follow local evacuation instructions before returning. Once you can enter, photograph and video every affected area before moving anything, then call your insurance agent to open a claim. The first 0 to 24 hours after a storm are the critical window for safety assessment and initial documentation, according to restoration industry guidance. Avoid standing water and damaged electrical equipment, and cover openings only after the damage is recorded.
How do I document storm damage for an insurance claim?
Take wide shots of each room and close-ups of cracks, missing shingles, water stains, and ruined belongings. Include timestamps, and keep damaged items until the adjuster reviews them. Write a room-by-room inventory with purchase dates and values where you can. Store copies in the cloud and share them with your claims team. This storm damage insurance claim documentation is the record your adjuster uses to set the scope and payout, so completeness matters more than speed.
Should I hire a restoration contractor or an engineer after storm damage?
Start with a licensed restoration contractor for water extraction, drying, and debris removal, and bring in a structural engineer when there are signs of foundation movement, roof framing damage, or load-bearing wall cracks. A structural damage assessment after a storm confirms whether the house is safe to occupy and what repairs the code requires. Take Off Construction Management has two engineers on staff and can handle both the assessment and the rebuild under one point of accountability.
How long does storm damage restoration usually take?
Emergency mitigation such as tarping, water extraction, and structural drying typically runs several days to two weeks. Repairs then depend on scope and permitting. Restoration costs depend on the scope of damage, and larger projects take longer. Contact us for a quote based on your specific project. Flood-damaged properties often face permitting rules that differ from routine construction, which can add weeks. A realistic storm damage repair timeline separates mitigation, permitting, and reconstruction so you can plan around each phase instead of one vague completion date.
Ready to move from scope to build? Get started with Take Off Construction Management and put an engineering-led team on your storm damage repair, from first assessment to final inspection.